Sunday 28 April 2013

Making a Felt Hat for Wonderwool

Wonderwool is a festival of all things wooly, to be held at the Royal Welsh Showground in Builth Wells in Mid Wales this weekend http://www.wonderwoolwales.co.uk

When I told my friend Blonde Geraldine about it, she needed no persuasion, always up for shopping and learning how to do stuff.  BG is much more art than craft, really, I should hate her.  For the last three decades, whenever we have both got into some creative process, I will spend ages labouring over a basic item, while she throws it together, slapdash, what a mess.  In the end, mine always looks pedestrian, hers fabulous.  No prizes for guessing who did which of these garden paintings.  Sick making, isn't it?


Well anyway, soon as I showed her the Wonderwool website, she spotted the hat competition.  

Why not enter our fun Hat Competition, wear your hat to the show and on our special 'Hat Walk' where they will be judged. 
Your hat can be made in any medium - knitting, crochet, woven, felted and should be made from wool or natural fibres. We are looking for innovative, fun, quirky hats, so get making.

The competition is open to all visitors to Wonderwool Wales.

Easter weekend, BG arrived at the house with a page of drawings and bags of confidence and sat me down to watch a woman on Youtube moulding and pinning a wet felt bag onto a hat shaped thing.  How to block a wool felt hat. Diana Unterspan.
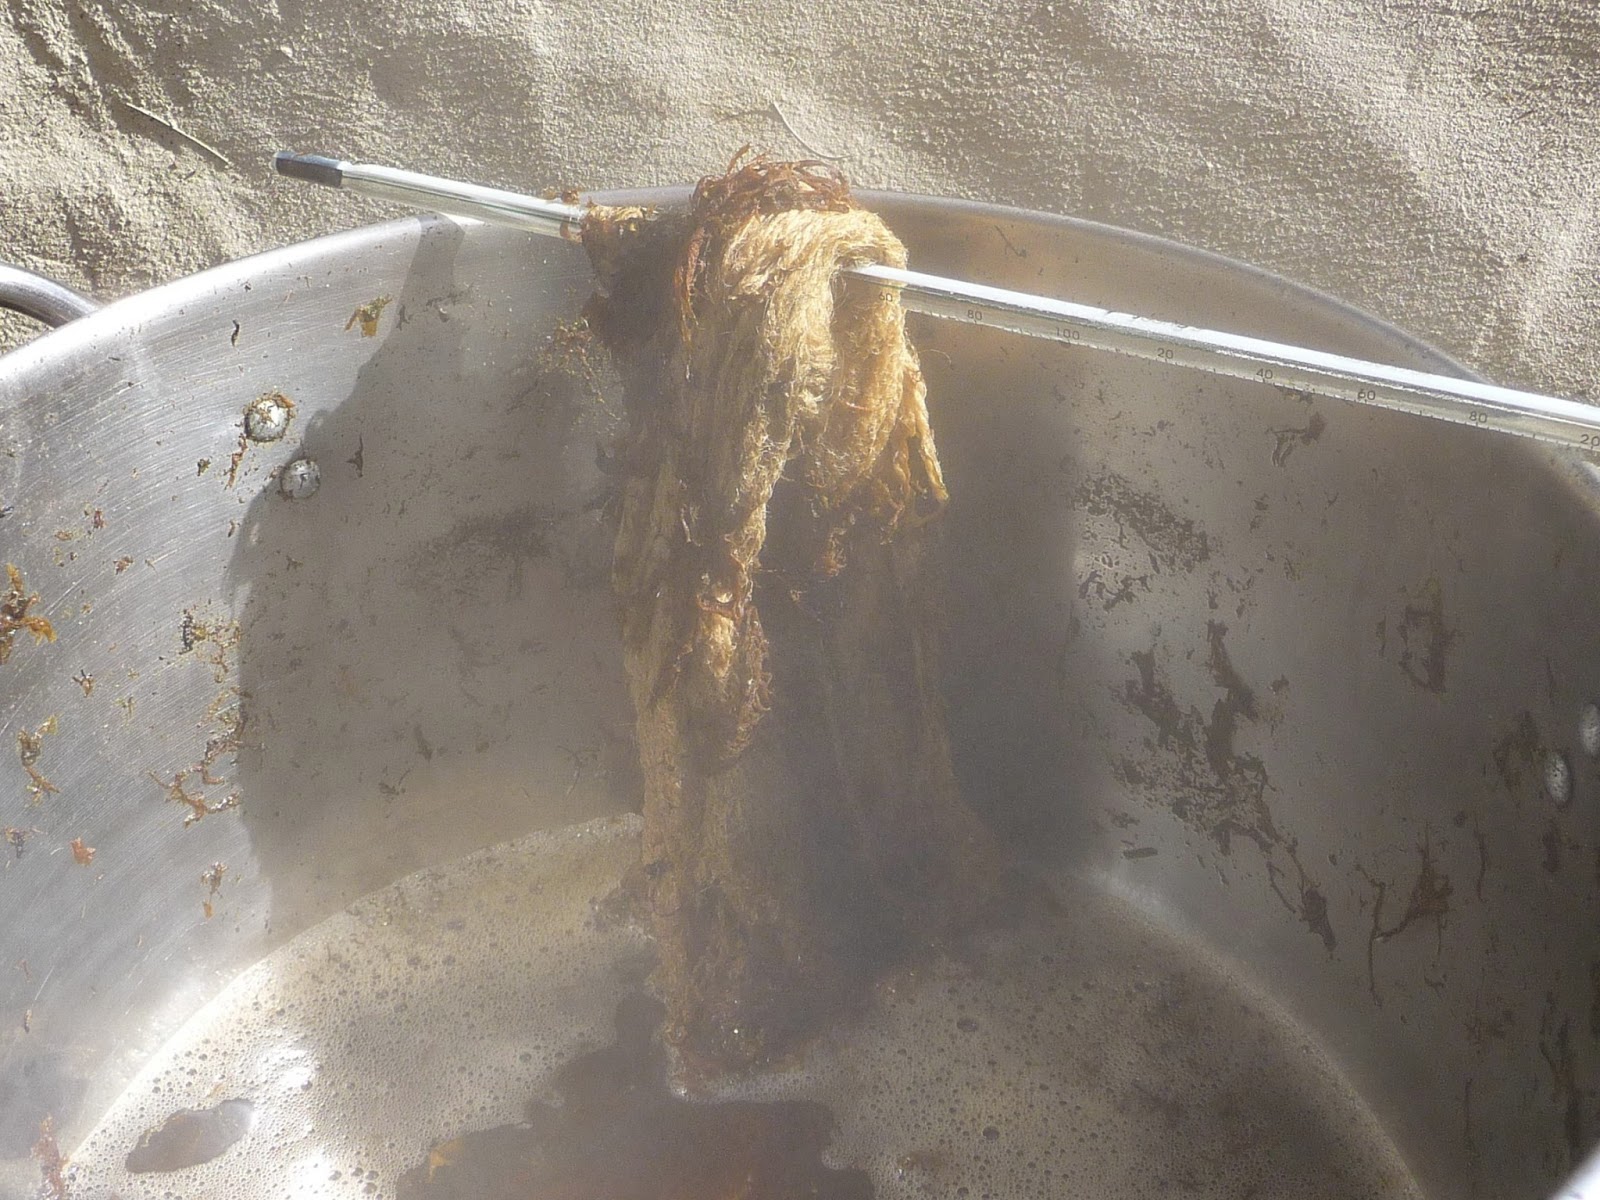
Still suffering post bag felting distress (see first blog ever), I was less sanguine about our chances of making the basis for a hat.  However, I did have some proper white wool roving left over from when I was beginning to use a drop spindle and thanks to the blog, good advice from Angela, who wrote the felt bag instructions http://www.angelabarrow.co.uk/Blog/tutorial-seamless-felt-handbag

So, we had a go.  We cut a resist the sort of shape of the felt bag seen on the Youtube hat video, layered nice clean roving over it, wet it and rubbed it down under a bit of netting, turned it over and did the same to the other side, this time spending lots of time rubbing the seams.  Then the detail, which BG had decided would be lines of fine, fluffy, black mohair wool.


The rolling process in bubble wrap is much easier with two taking turns to put the kettle on and this time, with thinner layers of clean roving, the felt started to shrink pretty quickly.  We could soon see the resist beginning to buckle inside. Also, the nice straight black lines went wiggly.


Took the resist out, excellent seams, perfect bag integrity, hooray!  Then, lots of walloping it about to 'shock felt'.  I hadn't anticipated that the flat shape would not be circular when three dimensional, but we had made a felt bag we could work with.  

The hat mould proved to be a three fag problem, which we  resolved using a sawn off flower pot, topped with a nicely judged amount of rice in a plastic bag, as shown above.  Not possible to pin the hat in position, but stretching the bag over it made the crown pretty much the same size as BG's head.
You really have to pull hard in all directions at once, but wet felt bags will give under sustained pressure.  Still, no way could we stretch the sides out to make a flat brim - how do they do that?  
The hat was not co-operating with BG's design plan, but never mind. We cut part of the brim off, wrinkled the rest into stylish folds and curves and left it to dry.


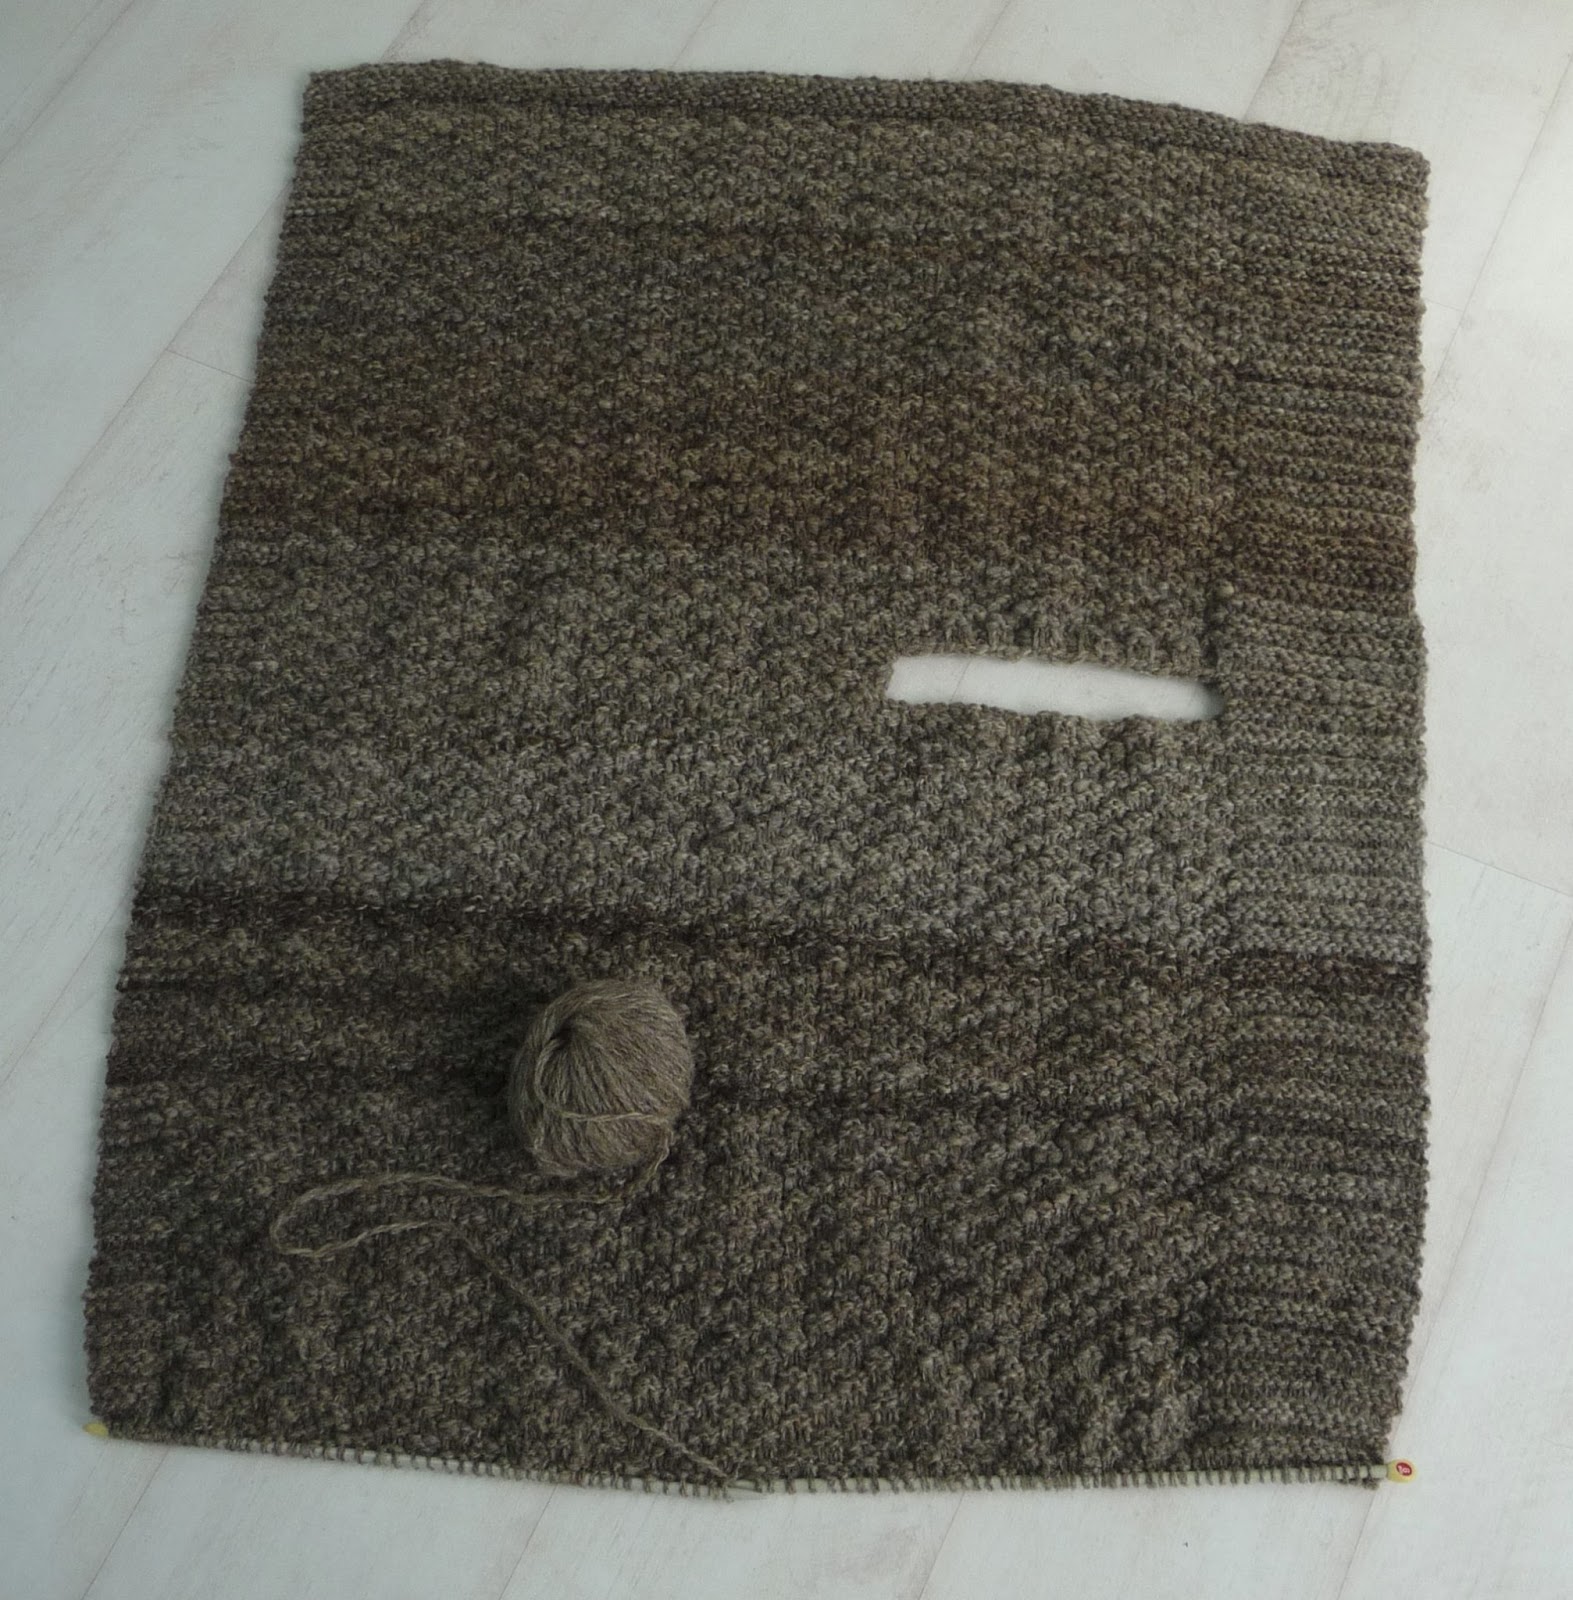
During the week, I crocheted and BG used a peg loom to make red flowers.  Once dry, the felt hat holds its shape even if you sit on it by accident - if, of course one did, which, of course, one didn't.


The next weekend we could try it on - pith helmet style or sideways.  I made an extra crochet flower, as presiding design genius, BG sewed them all on.


We have to be there by 2pm Saturday for the Hat Walk.  All that remains is to pimp BG in the correct shade of lipstick and the remains of the felt as a wrap and I think we have a contender!  There are going to be raw fleeces to see and touch and buy!  Spinning wheels, drop spindles, buttons and workshops and a Ravelry Flock Evening.  Win or lose, we'll have a booze.

When we get back on Sunday, I shall post photos of the Hat Walk and force myself to say nice things about the winner.

BG being introduced on the runway - the crowd went wild.

And sitting next to the winner, whose hat was lovely.


What a weekend - we are shattered, but have participated to the full.  Not a stall unvisited, not a fleece I have not groped, not a silk cocoon BG has not peered inside and the scotch eggs were just as good everyone said.

Saturday 20 April 2013

Sheep Fleece Hanging Basket Liners

Rumour has it the Bedding Plant Growers Association have been threatening to kneecap Monty Don, since he wrecked Easter sales by saying on Gardeners' World that it was too cold to plant out tender perennials.  Like anyone hadn't noticed!  Mind, he is a God among men, I too hang upon his every word.  If not balmy, the weather has finally got that damp, expectant air.  This week and the next, the moon is right for planting and transplanting.  This is just as well, as we spent a bomb at the Cardiff Spring Flower Show yesterday.

Raw sheep fleece is supposed to make a good liner for hanging baskets.  My large remaining bag of spongy, springy Zwartbles fleece suddenly seems a real gift.  It should be a good insulator against any more bad weather and is both cheaper and more attractive than the basket liners you can buy.  

My first basket of the year is now planted up with red geraniums - apparently, you can make a dye from the petals, so this is utterly on song for a gardening spinner/dyer wool enthusiast.


Last year, on the TV coverage of the Chelsea Flower Show, they showed an exquisite Japanese garden with hanging balls of moss with ferns growing out of them. 2012 was a very wet summer here, no shortage of moss and ferns.  The correct spelling for 'kokedama' escaped me, but Youtube came up trumps with a video tutorial called How to Make a Moss Ball: Emmymade. A charming young lady shows how to use neat packets of moss and compost to make tiny decorative delights.  My results were much more agricultural, but they have survived the winter.

Why not substitute wool for moss?  Please note, this is not a kitchen table project.  The way I did it required a bucket of old tomato bag compost, refreshed with a handful of fish blood and bone powder and some cow manure, another bucket of heavy clay garden soil and a willingness to get muddy.
Add a bit of water to the clay soil and mix well.  Splot a large trowelful into the compost and squidge to mix a soft clay/compost compound that holds its shape.  Get thin garden wire, the really cheap, flexible kind, and a small plant.  I had kept some self seeded karvinskiana daisies in pots over winter, which were badly root bound and screaming to come out.  Since they grow out of cracks in walls, they ought to cope with dry conditions and exposure.  Also, I bought a tray of saxifrages which I thought would make pleasing clumps spreading over a wool ball.  Wrap a couple of turns of wire round the root ball, then add balls of the clay/compost mix as you continue wrapping in wire, moulding it til you have a ball shape. 

This is where it got a bit experimental.  Disintegrating mud and wool down jumper.  Last year, the green garden wire disappeared as the moss grew.  Since it will remain visible on the wool, I thought galvanised fence wire might look better.  Unfortunately, this is not nearly as flexible, the coil springs out and would rather have your eye out than wrap nicely, lumps of wool keep falling off and the final result is more bondage than pastoral idyll.


I found the best way to wrap the ball involves teasing out some flat locks of wool and laying them fanned out in a circle, overlapping thickly at the base.  Sit the ball on top. Prop up a thick circle of locks around the outside and tie round the middle.  

Garden string is much easier to handle.  Tuck the tips of the side fleece under the ball then get your hand under the base, clutch it tenderly to your bosom and wrap the string round til all the fleece is secure.  You can make a U shape of wire and push it through the ball from the top until the ends come through the base, then twist the ends together to leave a hanger.
The string looks ok, when the saxifrage grows, much more of the pot will be covered up.  Still, I decided to spin a bit more of that Zwartbles, just to see if I could get a better result with matching wool.

I thought this would be a perfect project to do with my smallest neice, Emelia.  While very happy to collect daffodils for a dye bath, she was kind, but firm about the mud.  It would be preferable if daddy came to sit in the swivelly chair, so that she could play hairdressers, thank you very much.  


Well, I am pleased with the effect of  Zwartbles wool tying up Zwartbles fleece.  I've done three herb baskets for outside the kitchen door and a couple of primula pots.

My brother and my nephew were also happy to have a go.  I still think it might be a good project to make offerings for the plant stall at the school fete, but you should check that with your kids, before making assumptions.  


Saturday 13 April 2013

Phoebe's Felted Crochet Satchel Pattern

My niece Phoebe would have liked a smart leather school satchel.  Instead she is getting a rustic, woolen one.  
Why so cruel? 
Well, I bought a Zwartbles fleece on eBay and I cannot love it.  Lovely deep brown wool with golden tips, but it has a spongy texture. This is my third fleece and I wanted to practice spinning more fine and even wool.  Carding the Zwartbles  just felt ych a fi.  That is what Welsh women say when babies throw up or their nappies prove inadequate.  It is pronounced uck a vee, most expressive syllables. 


The Zwartbles sheep originated in Holland and its fleece is described as good for beginner spinners, with a staple length of about 10-12cm.  The fine crimp may be why it has such a spongy bounce.  I was a bit dismayed to have 2.5kg to use up, even though it did only cost £5.


Flick carding is done by roughly brushing out the tips and base of the locks of wool, a stiff dog brush works.  You can then fold the locks over your finger and spin from the fold.  This method minimised the handling of the Zwartbles and produced thick, lumpy wool which I double crocheted into a 20 stitch and 10 row tension gauge on a 9mm crochet hook.  After a 95 degree C machine wash, I had a nice, deep brown, dense fabric, too heavy for clothing, but could be right for a satchel.  I suggested it to Phoebe, who reckoned this was cool.  My own offspring did point out that she is not the kind of person who would willingly wound an aunt's feelings.

To make a pattern, I copied the picture and dimensions of the Cambrige Classic Satchel
shown on www.cambridgesatchel.co.uk This is 38cm wide (15") 25cm high (10") and 10cm deep (4").  I have made lots of crocheted bags, though smaller and not felted.  The principles of designing your own are straightforward. Draw out the separate pieces you will need and decide on the measurements you want. Crochet a square of the wool you want to use, then wash it, hot if you intend felting.  Use the piece as a tension gauge to work out how many crochet stitches you will need to make the first row the right length for each piece.  By luck, once washed, my wool gave double crochet stitches 1cm wide.


Decide which pieces you need to make first.  I did the front, then the base and sides.  Once I had the base and side piece length about right, I secured the final crochet loop without casting off, so I could add a bit or unravel a bit when I saw how the dimensions matched in real life.  


Joining two pieces of crochet at right angles is easy. With the wool at the back, push the crochet hook through the edgemost hole in the first piece then the matching hole in the second piece and pull up a loop loosely. Push the hook through the next matching holes in the two pieces and draw up another loop. Continue, leaving a flat row of crochet seam visible on the top surface, or you could do the same from the back for an invisible seam.


It is safer to leave fastening off until you have put the pieces together so you can adjust them til they fit and look right.  Double crochet is wonderfully forgiving like that.  I did the front pocket and its base and sides next, then joined them on to the front piece.  Then I got most of the back and top flap piece done and joined that on before deciding by eye how long the flap needed to be.

The buckles and rings I used for the strap came from a handbag I bought in a charity shop for a couple of quid.  The crochet pieces to join the buckles and side loops on and make the strap bases are all the same shape.  Chain three, make two double crochet into the first loop and chain one.  Turn.  Make two double crochet into each of the two stitches and chain one.  Turn.  Double crochet one stitch into the first stitch, two stitches into the second and third stitch and one stitch into the fourth and chain one.  Turn.  Double crochet once into each of the six stitches.  Then reduce in the same pattern, continuing straight on two remaining stiches until you have enough to fold over the buckle and fasten back behind, or long enough to make the strap for the upper piece.  The shoulder strap is just a great length 4 stitches wide, plus a shorter part on the other side with two rings on it to make the length adjustable.


Commit the bag to the washing machine for a hot intensive wash.  As you can see from the before and after photos, this scoured my greasy old raw Zwartbles wool at the same time as shrinking the bag about 30%.  How labour saving is that, compared to scouring each ball before working with it!

Despite being denser after felting, this big bag was a bit too floppy to stand up like a satchel should.  It needed some reinforcement to hold its shape better.  I had some leftover thick upholstery material which I folded double into a 10cm strip and sewed in along the base and sides.


You can fit plenty of things inside.
Hope she likes it.


Sunday 7 April 2013

The Trouble with Lichen

Scottish tweeds used to be dyed with lichen.  Think of all those heathery greens, gingery browns, yellows and threads of purple. Last autumn, I noticed that a group of ancient apple trees and acres of buckthorn were festooned with various lichens and thought maybe I too could get purple.  Not finding a modern recipe and unable to work out which kinds of lichen did what, I made a start following an old description of the process.  I steeped some local lichens for six months in stale urine.

No, there is nothing nasty about urine, it is less germy than tap water.  If you had to clean a contaminated wound out in the wild, you would be better off peeing on it than rinsing it in a stream.  I told this to the family and put a large pink potty in the bathroom with a note saying it would stay there until filled.  They obliged.  I had to admit, the jars of lichen and stale urine did stink after stirring.  They got put outdoors, snow fell and I forgot all about them.  This morning I rediscovered the jars, lurking in the garden.  Definitely had an ammoniac aroma, but no sign of purple.  

Since the rest of the family were out, I brought the jars in and got cooking.  The smell wasn't too bad til the pot boiled over, then it was Trouble with Lichen, reeking horror, really.  I had just time to get the pot outdoors, hose the place down and open all the doors and windows, before himself returned.  His nostrils flared like the villain in a Victorian melodrama  "What vileness have you perpetrated, in this, my feudal domain?"  I knew I wasn't going to get away with pretending I had burnt the toast.

Steve was soon distracted by the papers and picking a winner for the Grand National.  Once the pot had cooled, I put in some wool, though the dye bath looked pretty minging.  I sneaked it back onto the stove while he was walking the dog and had it safely outside again before the race.  Wouldn't it have been fab if Katie Walsh had won on SeaBass?  I had a fiver on the dream of her being the first woman jockey to win the Grand National. Fair play, Katie did bloody well, she finished, but out of the running. Watching the races on telly always reminds me of my Grandma, who kept an eye on the form and often had 10p each way on Lester Piggott. 
No fairy tale ending for the lichen either.  Looks like I have created beige.  I put some vinegar in and have left half the wool swirling in the fetid depths, just to see what acidifying does.  Tonight I shall pour the lot on the compost heap, rinse the wool and hang it in the garage.  Tomorrow I shall add a photo of the final result to this blog.  

John Wyndham's feminist biochemist didn't have trouble quite like this.  In the story, she extracted Antigerone from lichen, to give to women who deserved to be immortal.  I would definitely be giving some to Katie Walsh. Also Mary Beard and Siouxsie Sioux, Fred Vargas and even though he is a bloke, Iain M Banks.  Plus Sandi Toksvig and Joanna Lumley.  Actually, would I want to be immortal? Would they?  Just as well I only have some beige wool.


Wednesday 3 April 2013

Pip's Wrap Pattern

It's my sister's birthday today.  Here she is, out on a walk, kindly sporting a whole collection of my woolen gifts, photographed by my niece, Phoebe. Great effort, totally Vogue, darling. When they visited last month, I was showing off my new spinning wheel and the glories of the as yet untouched second fleece I got from Huxtable Farm.  Pip gave in gracefully to the inevitable offer of homespun birthday knitwear, choosing a pattern for a wrap from an old pamphlet I have had for a while, Patons Book 3735.  Top choice, it is a really simple pattern to modify for any weight of wool.  Book 3735 is no longer in print, but Coats Crafts UK very kindly agreed that I put my modified version of their pattern on this blog.


Materials  6 mm needles
I used 1.5 kg raw wool fleece of fawn brown to grey of a Jacob X Texel ewe from Huxtable Farm.  Staple length 7cm plus, shorn July 2012.  The real pattern calls for less than half that weight of Eco Wool Chunky and as I said, you could make the same dimensions only much finer and more drapey in a lighter weight wool, by increasing the number of stitches you cast on.
(Update in August - I was asked how many metres of wool were needed, but I didn't measure at the time.  I have calculated, only roughly, using leftover wool and the tension gauge piece that it was 1,320m)
Spinning
I still haven't got to grips with sorting, so I mixed staple colours and lengths while carding more carefully than with the first fleece, getting tangle free rolags.  I managed to spin medium thick, fairly even singles and plied the pairs together with better twist along their length. 
As for the Huxtable Jumper, tie each skein with cotton in four places, add a tablespoon of Fairy Liquid to about 10 litres warm water, and put in two skeins squeezing the gently.  Heat up to 85-90 degrees C over the course of an hour, then leave to cool.  When the temperature has dropped to about hand hot (40 degrees), rinse the wool in three changes of hand hot tap water, squeeze out and leave to dry. Roll into centre pull balls.  

This wrap is knitted sideways, so the cast on edge begins with the right front border and you work towards the right shoulder, leave a gap for the armhole and continue across the back.  The cast on edge gives you the length you want - remember it hangs longer on a slant off the shoulder.  The distance to the armhole and across the back and from the second armhole to the other front border should all  be equal to each other and be based on the shoulder to shoulder measurement of the happy recipient.
Tension
For my wool, I got 12 stitches and 20 rows to 10cm square on 6mm needles in 4x4 box stitch.
I cast on 100sts on 6mm needles, to get a length from shoulder to the top of the hip, excluding the depth of the collar.  Clearly, Pip is going to wear it off the shoulder and droopy, but you can wrap it closer round you and have the collar turned over.   


Border
First row knit(k), second row purl(p), third row purl, fourth row knit.  
Repeat rows 1-4, then repeat rows 1 and 2.
Main Body
Pattern begins with rows as follows
1  (Lower border) p6 then k2 p2 to last 16 stitches(st), p16 (collar band)
K16 p2 k2 k6
k6 p2 k2 k16
p16 k2 p2 p6
Continue in pattern until work measures approx 51cm from beginning, ending with a fourth pattern row.  You could use any stitch pattern for the body, as long as it looks good from both sides, moss stitch, a lacey pattern maybe, for a lighter wool.
Divide for armholes
Pattern 56, cast off 28, pattern 16
Continue on top edge 16 stitches in pattern for 7 rows and leave stitches on a holder.
With wrong side facing, join wool to remaining 56 rows and continue in pattern for 7 rows.
Pattern 56 st cast on 28, continue on 16 stitches on holder – 100 st
Continue in pattern for a further 49cm, ending with a fourth pattern row.
Repeat armhole.
Continue in pattern for a further 49 cm, ending with a second pattern row.
Repeat border in reverse – rows in turn of k p p k k p p k k p and cast off loosely.

Sleeves
Cast on 42 st on 6mm needles.
Make rows in turn of k p p k
Continuing in this pattern of rows, decrease one stitch at each end of next row then decrease one stitch at each end of alternate rows until 24 st remain, then in every row until 10 st remain.  Cast off.  Sleeves are sewn into armholes with the cast on edge as their outer border.

This kind of chunky item demands a substantial brooch to hold it around the wearer in nippy conditions.  I found this penannular brooch online.  I love it, it is perfect, not too heavy, but looks to be steel.  It is made by DaeGrad tools and cost £6.99. http://daegrad.co.uk/


Happy Birthday Pip!